Switch between your organizations#
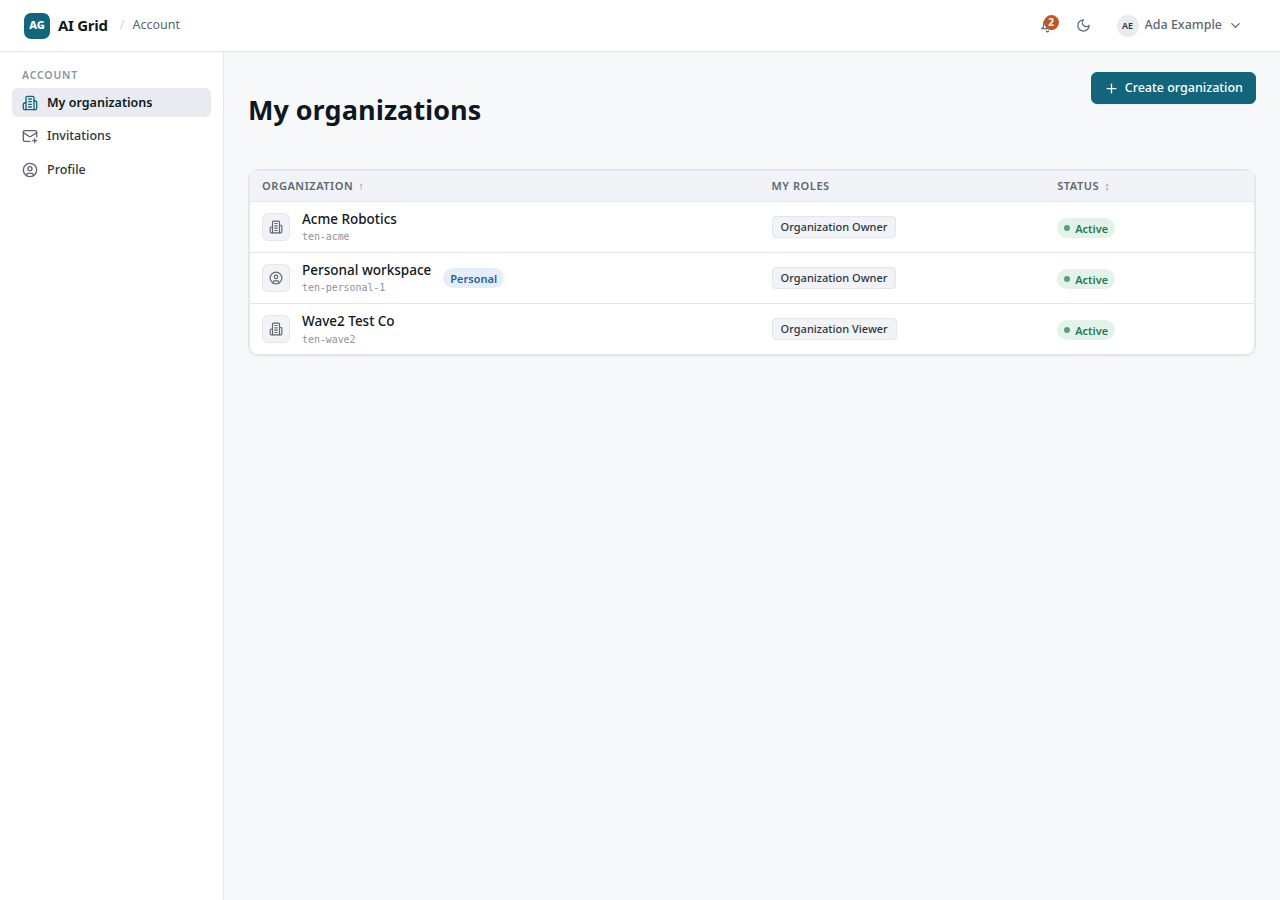
Open the account menu (top-right) → My organizations. The table lists each organization with Organization, My roles and Status.
- Click a row's Open to land on that organization's Overview.
- Click Make default to pin it as your landing organization — the default is stored in your browser, so repeat this on each device you use.
If you belong to no organization yet, the empty state offers Create organization and See invitations.
Create an organization#
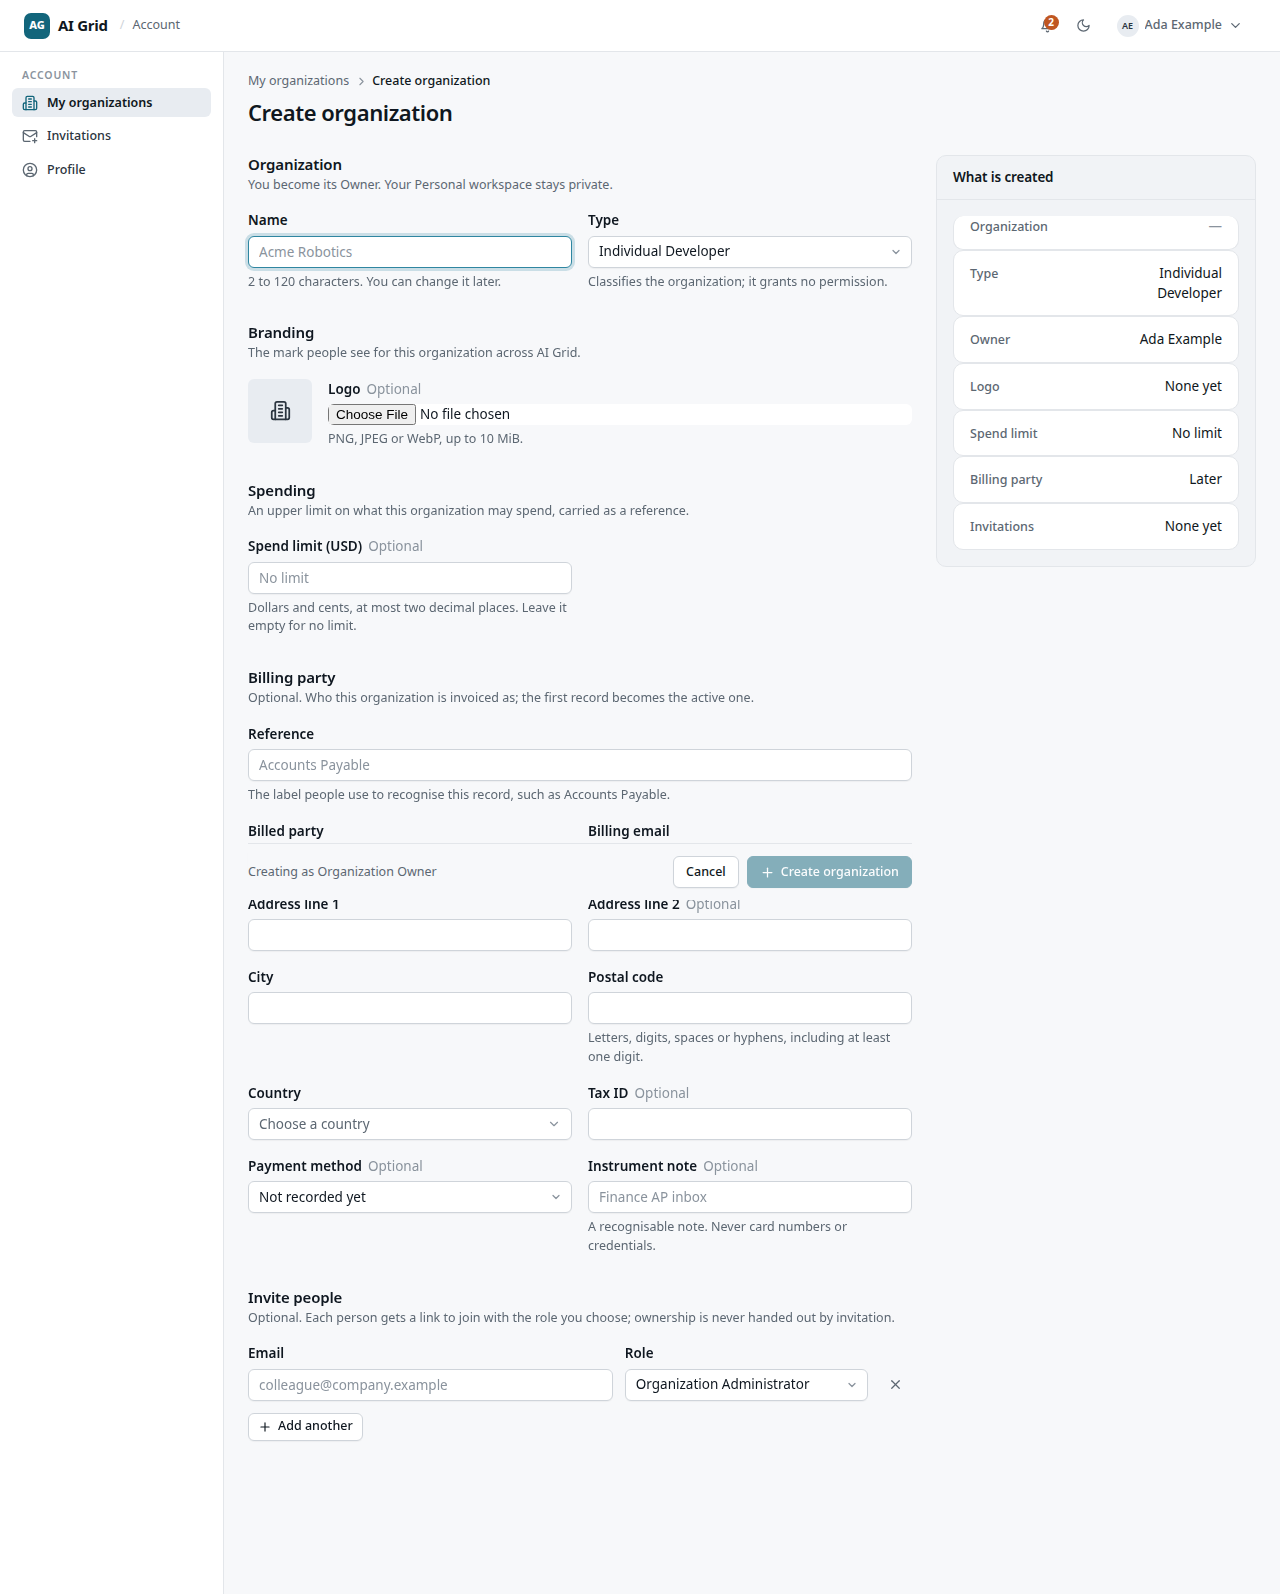
Open My organizations → Create organization. The form has five sections:
- Organization — name and type.
- Branding — upload a logo.
- Spending — an optional organization-wide Spend limit (USD).
- Billing party — an optional billing record.
- Invite people — optional invitation rows.
The footer states Creating as Organization Owner — the first account in a new organization is always its Owner. Click Create organization.
Organization settings#
Open Organization → Settings (the Settings button also sits on the Overview identity card). You need the Owner or Administrator role; anyone else gets a NoAccess state. Three tabs:
- General — edit the Name, upload or remove the Logo (PNG, JPEG or WebP, at most 10 MiB), and set a Spend limit (USD). Empty means no limit. The rest of the record — Org ID, Status, Kind — is read-only. Use Discard or Save. A personal workspace keeps the fixed name Personal: the server refuses a rename there, though the logo and spend limit are still yours to set.
- Billing — a table of billing records with one marked Active. Use Add billing record to create one, and the row menu's Edit or Make active to manage them. An organization with none shows No billing record yet.
- Danger — Leave organization (see below).
The organization Spend limit caps total allocation out of the organization wallet to teams and projects — a different control from the per-key and per-policy limits in Caps and spend controls.
Leave an organization#
Open Organization → Settings → Danger → Leave organization, and confirm in the dialog. You cannot leave if you are an Owner — transfer ownership first — and a personal workspace has no leave action at all.
Your profile#
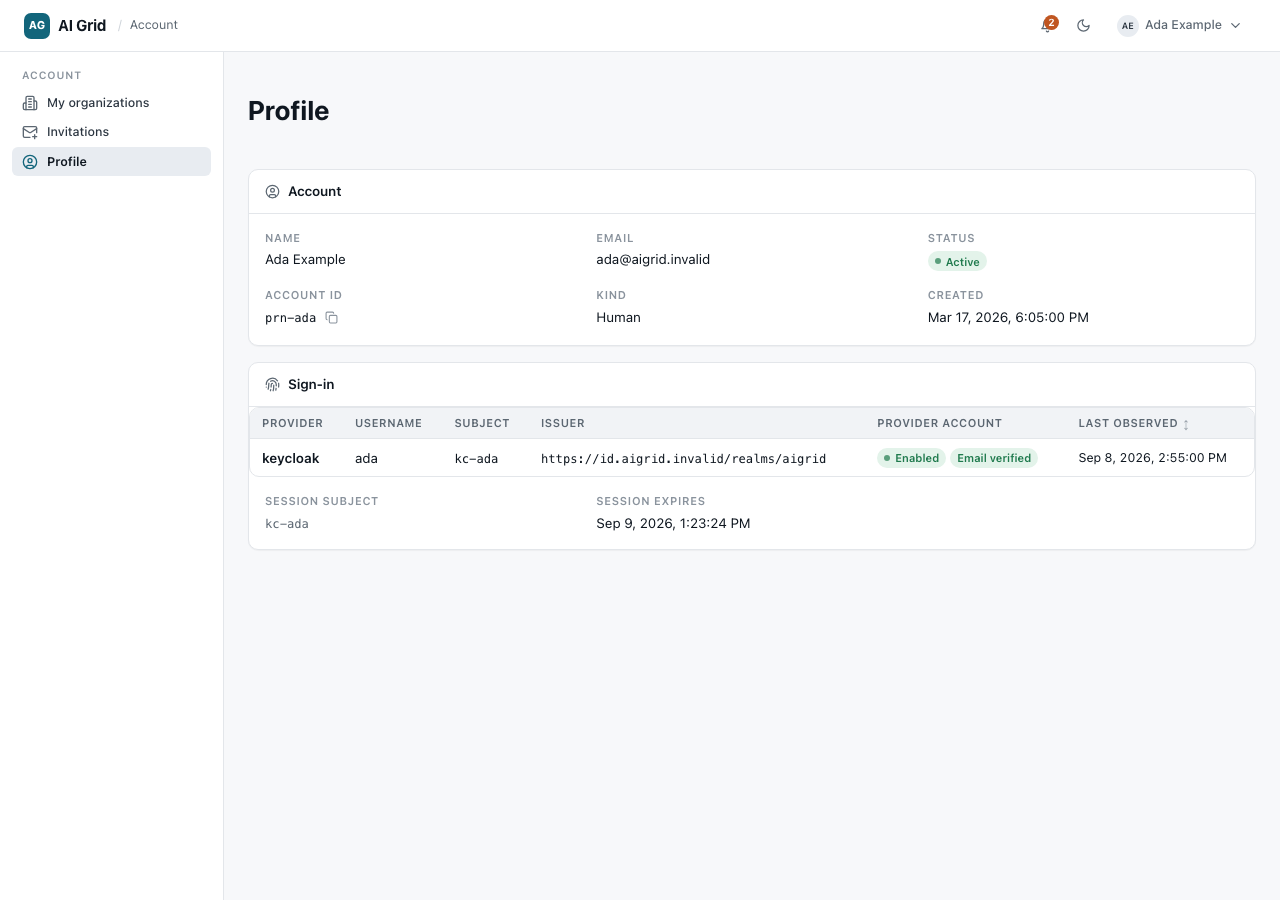
Open the account menu → Profile. The page is read-only, with two cards:
- Account — your name, email, status, ID, kind and creation date.
- Sign-in — your identity-provider bindings, session subject and session expiry.
There are no actions on this page; account changes flow through your identity provider.
What you hold across organizations#
Your roles can differ per organization — Owner in your personal workspace, Viewer in a partner's. The My roles column on My organizations and the My roles row on each Overview identity card state exactly what the server will let you do there.