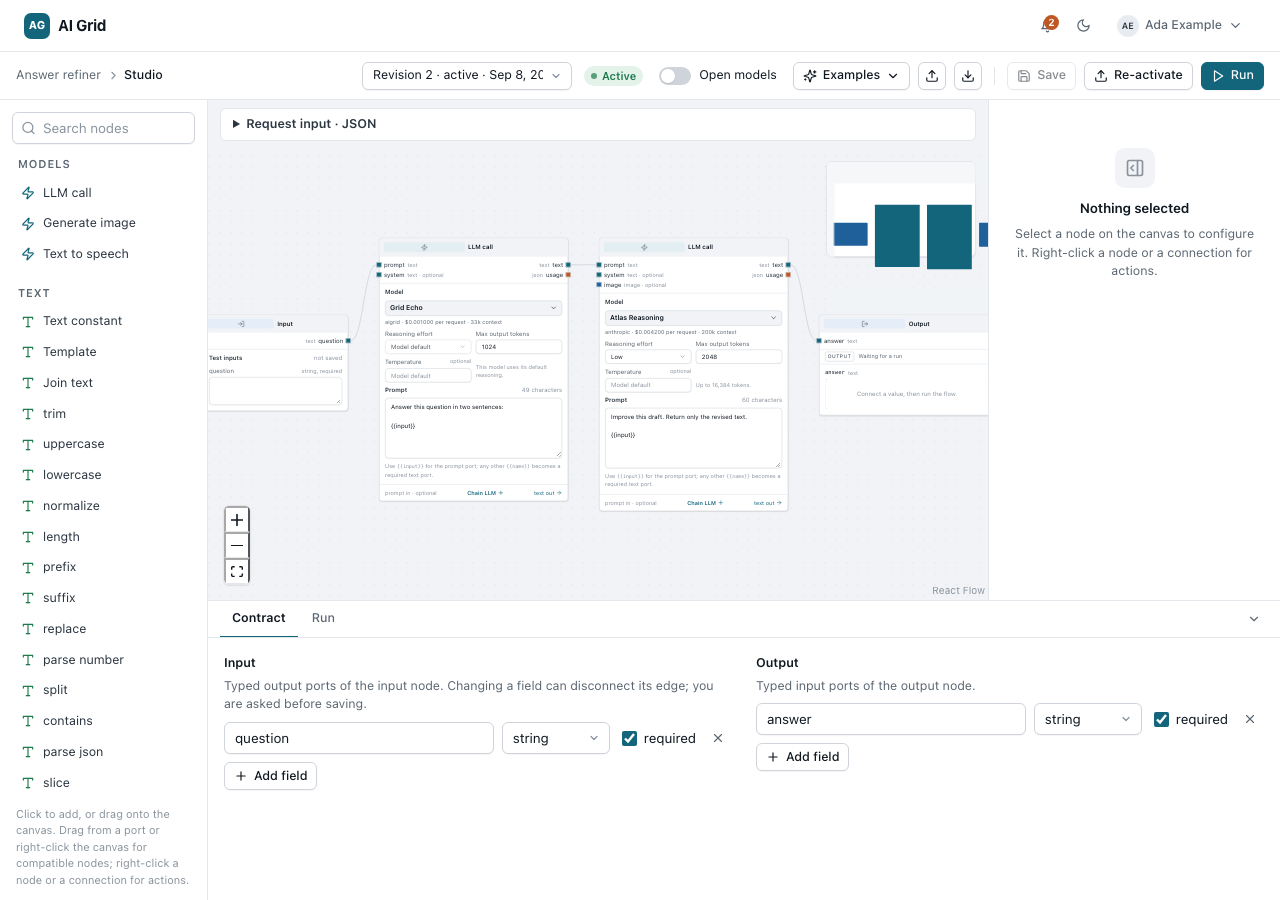
These flows join the manual's pages into whole jobs, for an administrator who wants the shape of a task at a glance. Each step links to the page that documents it in detail.
If you are doing one of these for the first time, the step-by-step versions are in Getting started — they assume less and check more.
1. Set up a new organization end-to-end#
Goal: a funded organization whose members can make a first paid call.
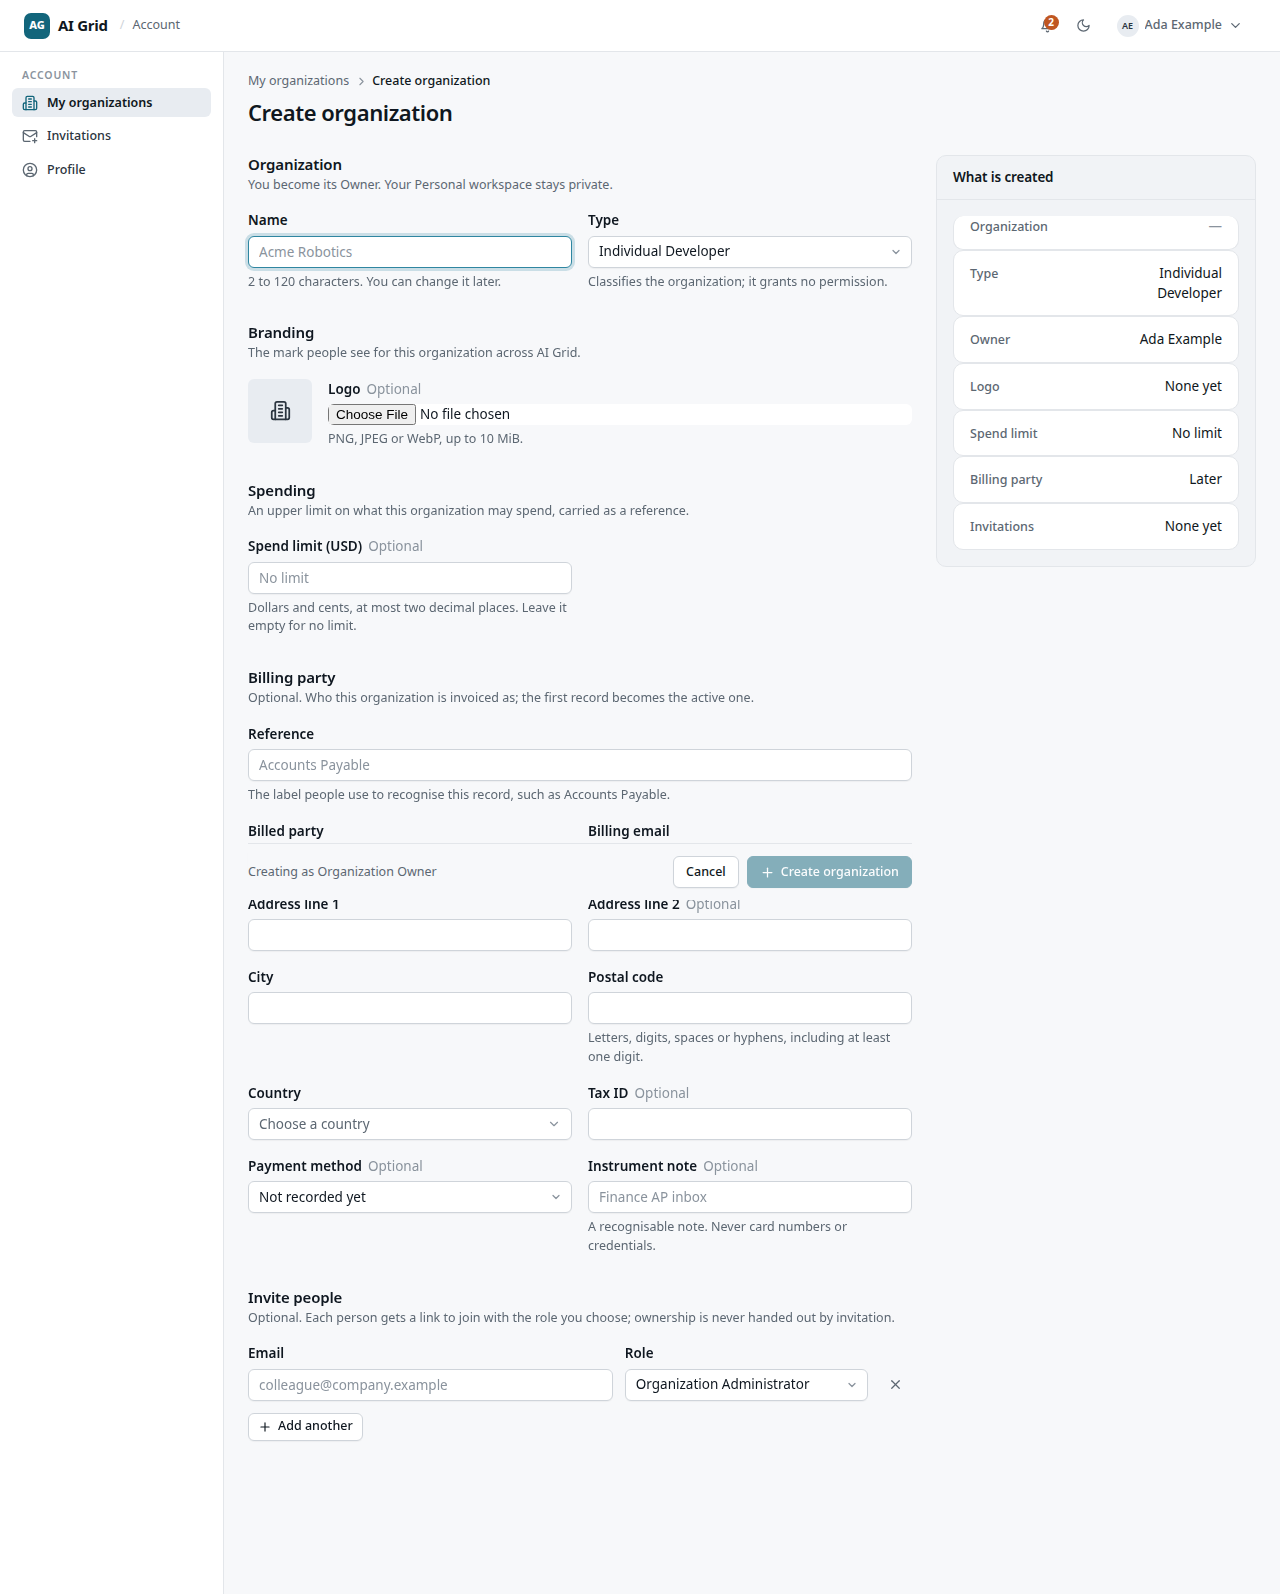
- Create the organization. Open My organizations → Create organization and fill the sections — organization, branding, spending limit, billing party and optional invitation rows. You land as Organization Owner; failed side-steps (logo, billing, invites) are retryable from the Overview banner. See Account and workspace.
- Invite people. From People → Invite people, add email + role rows and send. Copy each invitation link and send it to the person. See People and invitations.
- Create a team. Teams → New team; you become its Team Owner. See Teams.
- Create and fund a project. Projects → New project: pick the owning team, name it, assign initial products (frozen prices), onboard members and optionally top up the wallet. Then fund it via Finance → Wallets → Add funds, choose a billing record, then confirm with Add $X. Funding credits test funds; no real payment is taken. See Projects and Wallets and audit.
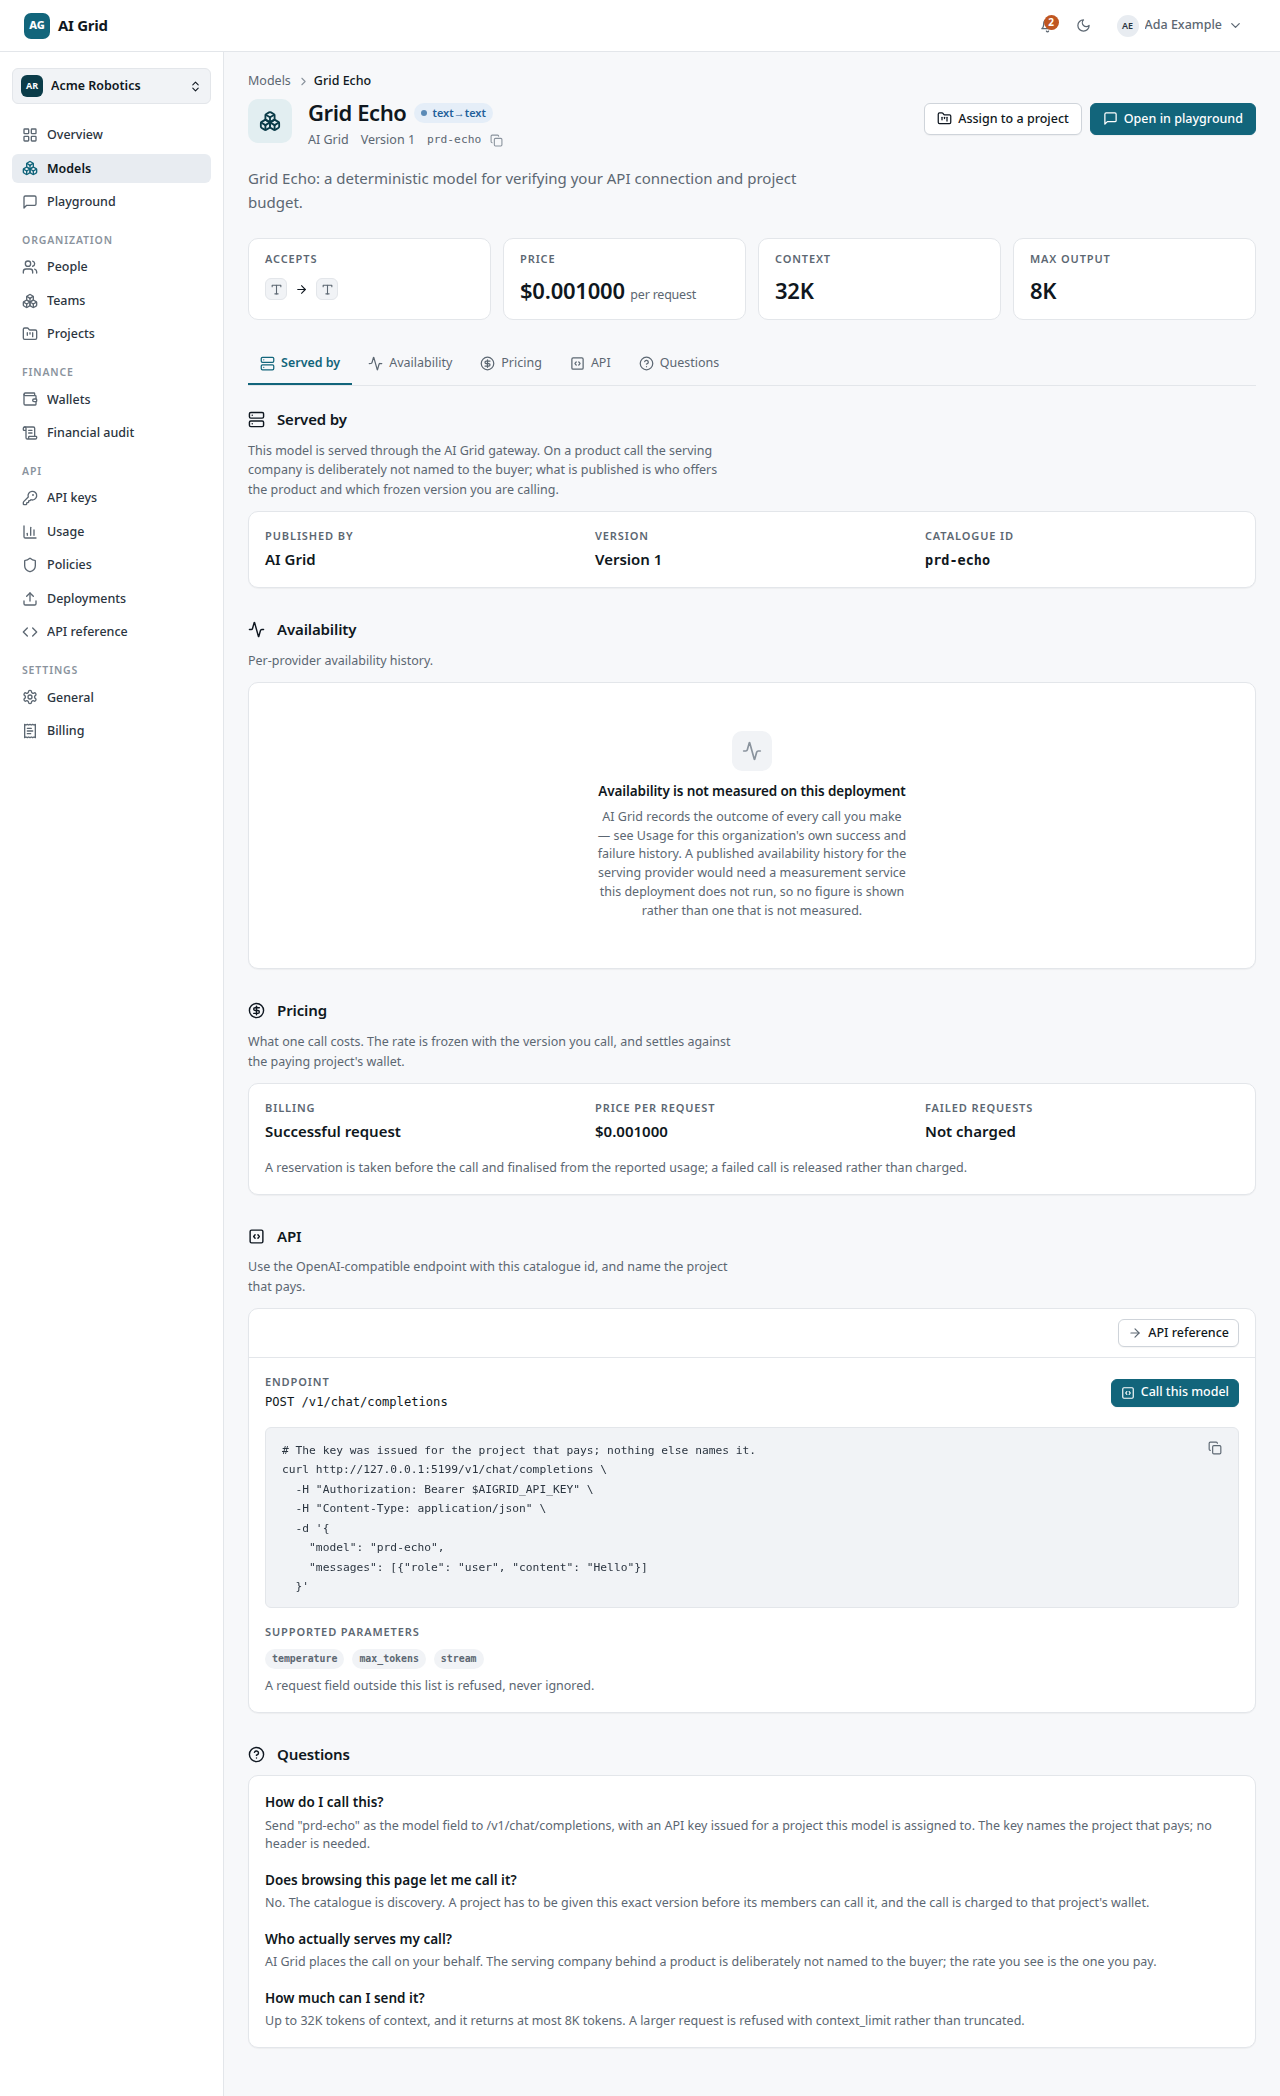
- Assign a product. In the catalogue, open the model and click Assign to a project → Accept rate and assign to freeze the exact version and price. See Browsing the model catalogue.
- Make the first call. Either create a project-bound API key and call
POST /v1/chat/completions, or use the Playground with the project selected. See API keys and Playground. The call appears in Usage and call records.
2. Onboard a new developer to an existing project#
Goal: a colleague can call one specific project, and nothing else.
- Invite them. People → Invite people, copy the link, hand it over; they accept while signed in. See People and invitations.
- Add them to the owning team. On the team's Members tab, Add member — they join as Team Member. Team membership alone grants no project rights, but it is one of the three checks key issuance re-verifies. See Teams.
- Grant the project explicitly. On the project's Members tab, Add member with a recorded reason and give Project Consumer (or Project Owner). See Projects.
- Issue a key. They open API keys → Create key, pick this project, and copy the secret — shown once. See API keys.
- First call and usage check. They call
POST /v1/chat/completions; the call shows up under their key prefix in Usage and call records, and its charge settles on the project wallet (Wallets and audit).
3. Give a project access to a model#
Goal: one project can call one exact model version at its published rate.
- Find the model in the catalogue — search, modality tabs and facets narrow the list; the N projects badge shows current assignments. See Browsing the model catalogue.
- Assign the exact version. Either click Assign to a project on the model detail and confirm Accept rate and assign, or use the project's Products tab → Assign product. The version and price freeze for that project. See Projects.
- Verify it is callable. The project's Products tab shows Callable; with
a project-bound key,
GET /v1/modelslists it. A quick Playground round with the project selected works too. Until then, calls answer403 product_not_assigned— see Troubleshooting.
4. Control spend#
Goal: layered ceilings on what the organization and each key can burn, with an audit trail to prove it.
- Fund deliberately. A project only spends what its wallet holds; an unfunded
project is refused at
402. Top up from Finance → Wallets or the project's Wallet tab. See Wallets and audit. - Cap a single key. At key creation, set a Spending limit with a lifetime / daily / weekly / monthly reset — an extra ceiling on top of the project budget. See API keys.
- Cap the organization or a project. Policies → New policy sets daily/monthly USD ceilings, max output tokens, allowed-product allowlists and content guardrails. All active applicable policies intersect — they can only narrow access. See Spending and content policies. Optionally set an organization-wide Spend limit (USD) in settings (Account and workspace).
- Watch it. Usage shows per-call Reserved / Charged / Released; blocked calls appear in the refusal audit; Financial audit gives the organization-wide top-ups, spend and net balance. See Usage and call records and Wallets and audit.
5. Build, run and expose a sandbox product#
Goal: a private flow, callable from code through one endpoint.
- Create the product. On the project's Sandbox tab, New sandbox product: name, description and the input/output contract. The project needs products already assigned — see Browsing the model catalogue and Projects. See Sandbox products.
- Compose in the studio. Drag nodes from the palette (product calls, templates, branches, expressions), wire the graph, and watch the Contract and Run tabs. Graphs are validated: typed ports, acyclic wiring, assigned products only.
- Save a revision. Save revision (Ctrl/Cmd+S) stores an immutable snapshot.
- Activate it. Activate → Save and activate? makes that revision the one that runs; activation re-validates and leaves the previous revision live on failure. Only the active revision answers endpoint calls.
- Run and invoke. Test from the studio's Run tab, then copy the Invoke URL from the record's Endpoints section and call it with a project-bound API key. See API keys.
- Optionally expose MCP. On the record's Access section, switch the MCP interface on, then hand the MCP URL to an MCP client holding a key for this project. It is off by default.